Smartcat CLI
Smartcat CLI (Command-Line Interface) is a cross-platform tool that allows to perform certain actions (mostly related to uploading / downloading content) from a command line or automation scripts.
Binary Downloads (latest version)
- Linux (x64): https://smartcat-cli.s3.amazonaws.com/smartcat-linux-x64.zip
- Linux (musl, x64): https://smartcat-cli.s3.amazonaws.com/smartcat-linux-musl-x64.zip
- Linux (arm64): https://smartcat-cli.s3.amazonaws.com/smartcat-linux-arm64.zip
- MacOS (x64): https://smartcat-cli.s3.amazonaws.com/smartcat-osx-x64.zip
- Windows (x64): https://smartcat-cli.s3.amazonaws.com/smartcat-win-x64.zip
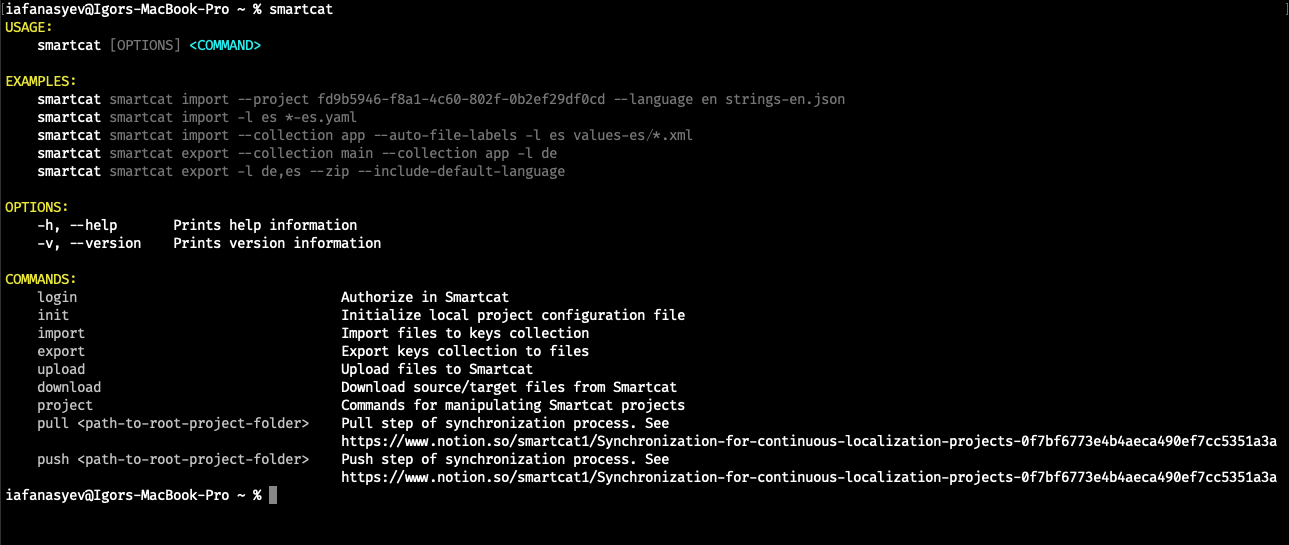
Once you have it installed, open your console and type smartcat:
Then run smartcat login to authorize in Smartcat (your workspace ID and API key will be stored in your user config folder; on Linux or macOS, the location is ~/.config/smartcat/config.json).
Per-folder configuration file
As a matter of convenience, you can create a file called .smartcat in the folder you will be runnung Smartcat CLI from. In this file you can put information about your Smartcat server, workspace, project, and API key (all fields are optional). For example:
{
  "Server": "https://smartcat.com",
  "Workspace": "fd104ef5-cbe7-1459-c8ac-237d99a3c614",
  "Project": "446dfcf0-e699-4c91-a7ee-40e1237a9f81",
  "ApiToken": "1_XXXXXXXXXXXXXXXXXXXXXXXXXXXXXXX"
}
Once you do so, this information will override your user settings.
Such a configuration file will allow you to skip specifying --project xxxxxxxx in every CLI command invocation.
General syntax
smartcat <command> [subcommand] [--option] [arg1]...[argN]
COMMANDS
| Command | Details |
|---|---|
| login | Authorize in Smartcat |
| init | Initialize local project configuration file |
| import | Import files to keys collection |
| export | Export keys collection to files |
| upload | Upload files to Smartcat |
| download | Download source/target files from Smartcat |
| project | Commands for manipulating Smartcat projects |
| pull |
Pull step of synchronization process. |
| push |
Push step of synchronization process. |
OPTIONS
| Option | Details |
|---|---|
| h, --help | Prints help information |
| v, --version | Prints version information |
EXAMPLES
smartcat pull
smartcat pull .
smartcat pull --create-missing-files path/to/dir
smartcat pull --mode Confirmed --complete-projects path/to/dir
smartcat pull --mode 2 --complete-documents path/to/dir
smartcat smartcat import --project fd9b5946-f8a1-4c60-802f-0b2ef29df0cd --language en strings-en.json
smartcat smartcat import -l es *-es.yaml
smartcat smartcat import --collection app --auto-file-labels -l es values-es/*.xml
smartcat smartcat export --collection main --collection app -l de
smartcat smartcat export -l de,es --zip --include-default-language
Configuration
Smartcat CLI supports provisioning of authentication parameters from multiple sources, where each source overrides previously defined settings, in this particular order:
- Global configuration. It is stored in
%APP_DATA%/smartcat/config.json
Global configuration
{
    "activeWorkspace": "{workspace ID}",
    "workspaces": {
        "{workspace ID}": {
            "workspace": "{workspace ID}",
            "server": "smartcat.com",
            "apiToken": "{API token}",
          "project": "{project ID}"
        }
    }
}
- Local configuration is taken from a file called
.smartcat(orsmartcat.json) in a current directory. The file has the following format:
Local configuration
{
    "server": "smartcat.com",
    "workspace": "{workspace ID}",
    "project": "{project ID}",
    "apiToken": "{API token}"
}
Configuration file referenced from the command line (see Global CLI options)
--config=path/to/config.json
- Environment variables:
Environment variables
SMARTCAT_SERVER="smartcat.com"
SMARTCAT_WORKSPACE="{workspace ID}"
SMARTCAT_PROJECT="{project ID}"
SMARTCAT_API_TOKEN="{API token}"
- Command-line parameters (see Global CLI options)
Global CLI options
Following options are available for all CLI commands (if not stated otherwise in command’s description). They have maximum priority in configurations, and they will override all respective options from preceding configurations.
Main options
-s|--server <SERVER_URL>- sets current Smartcat server. Optional-w|--workspace <WORKSPACE_ID>- sets current Smartcat workspace ID. Optional-p|--project <PROJECT_ID>- sets current Smartcat project id. Optional-t|--api-token <API_TOKEN>- sets current Smartcat API token. Optional
Other options
-g|--global- ignore local configuration and use global one. Optional-c|--config <CONFIG_PATH>- specifies path to config file. Optional
Authentication
To use Smartcat CLI you need to provide credentials using one of possible ways
(see Configuration). To simplify this process, you can use the login command.
Synopsis
smartcat login [option]
Description
This command stores provided credentials in the global configuration. If you didn’t provide any credentials using environment variables or options, it will run an authentication wizard that will help you through the auth process.
Getting started
Synopsis
smartcat init [option]
Description
This command will guide you step-by-step through the process of authorization (if not configured) and project creation (or selection of an existing one). In the end it will create a local configuration file.